It has been 2 and a half years since my last post about Fuji X macro photography. My last post was part 4 of the series titled “Fujifilm Extension Tube MCEX-11 & MCEX-16“. A lot has happened since then. During this time, I migrated back from Malaysia to the UK and it took a while to settle down. Life was so busy I hardly had time do to photography, let alone writing a blog post. Now that everything is settled down and I am starting to devote more time to this blog.
A lot has also happened in the photography world since then. In 2016, the Zeiss 50mm macro was the only Fuji X mount lens which offers 1:1 magnification. Now we have the fantastic 80mm macro and also some 3rd party options.
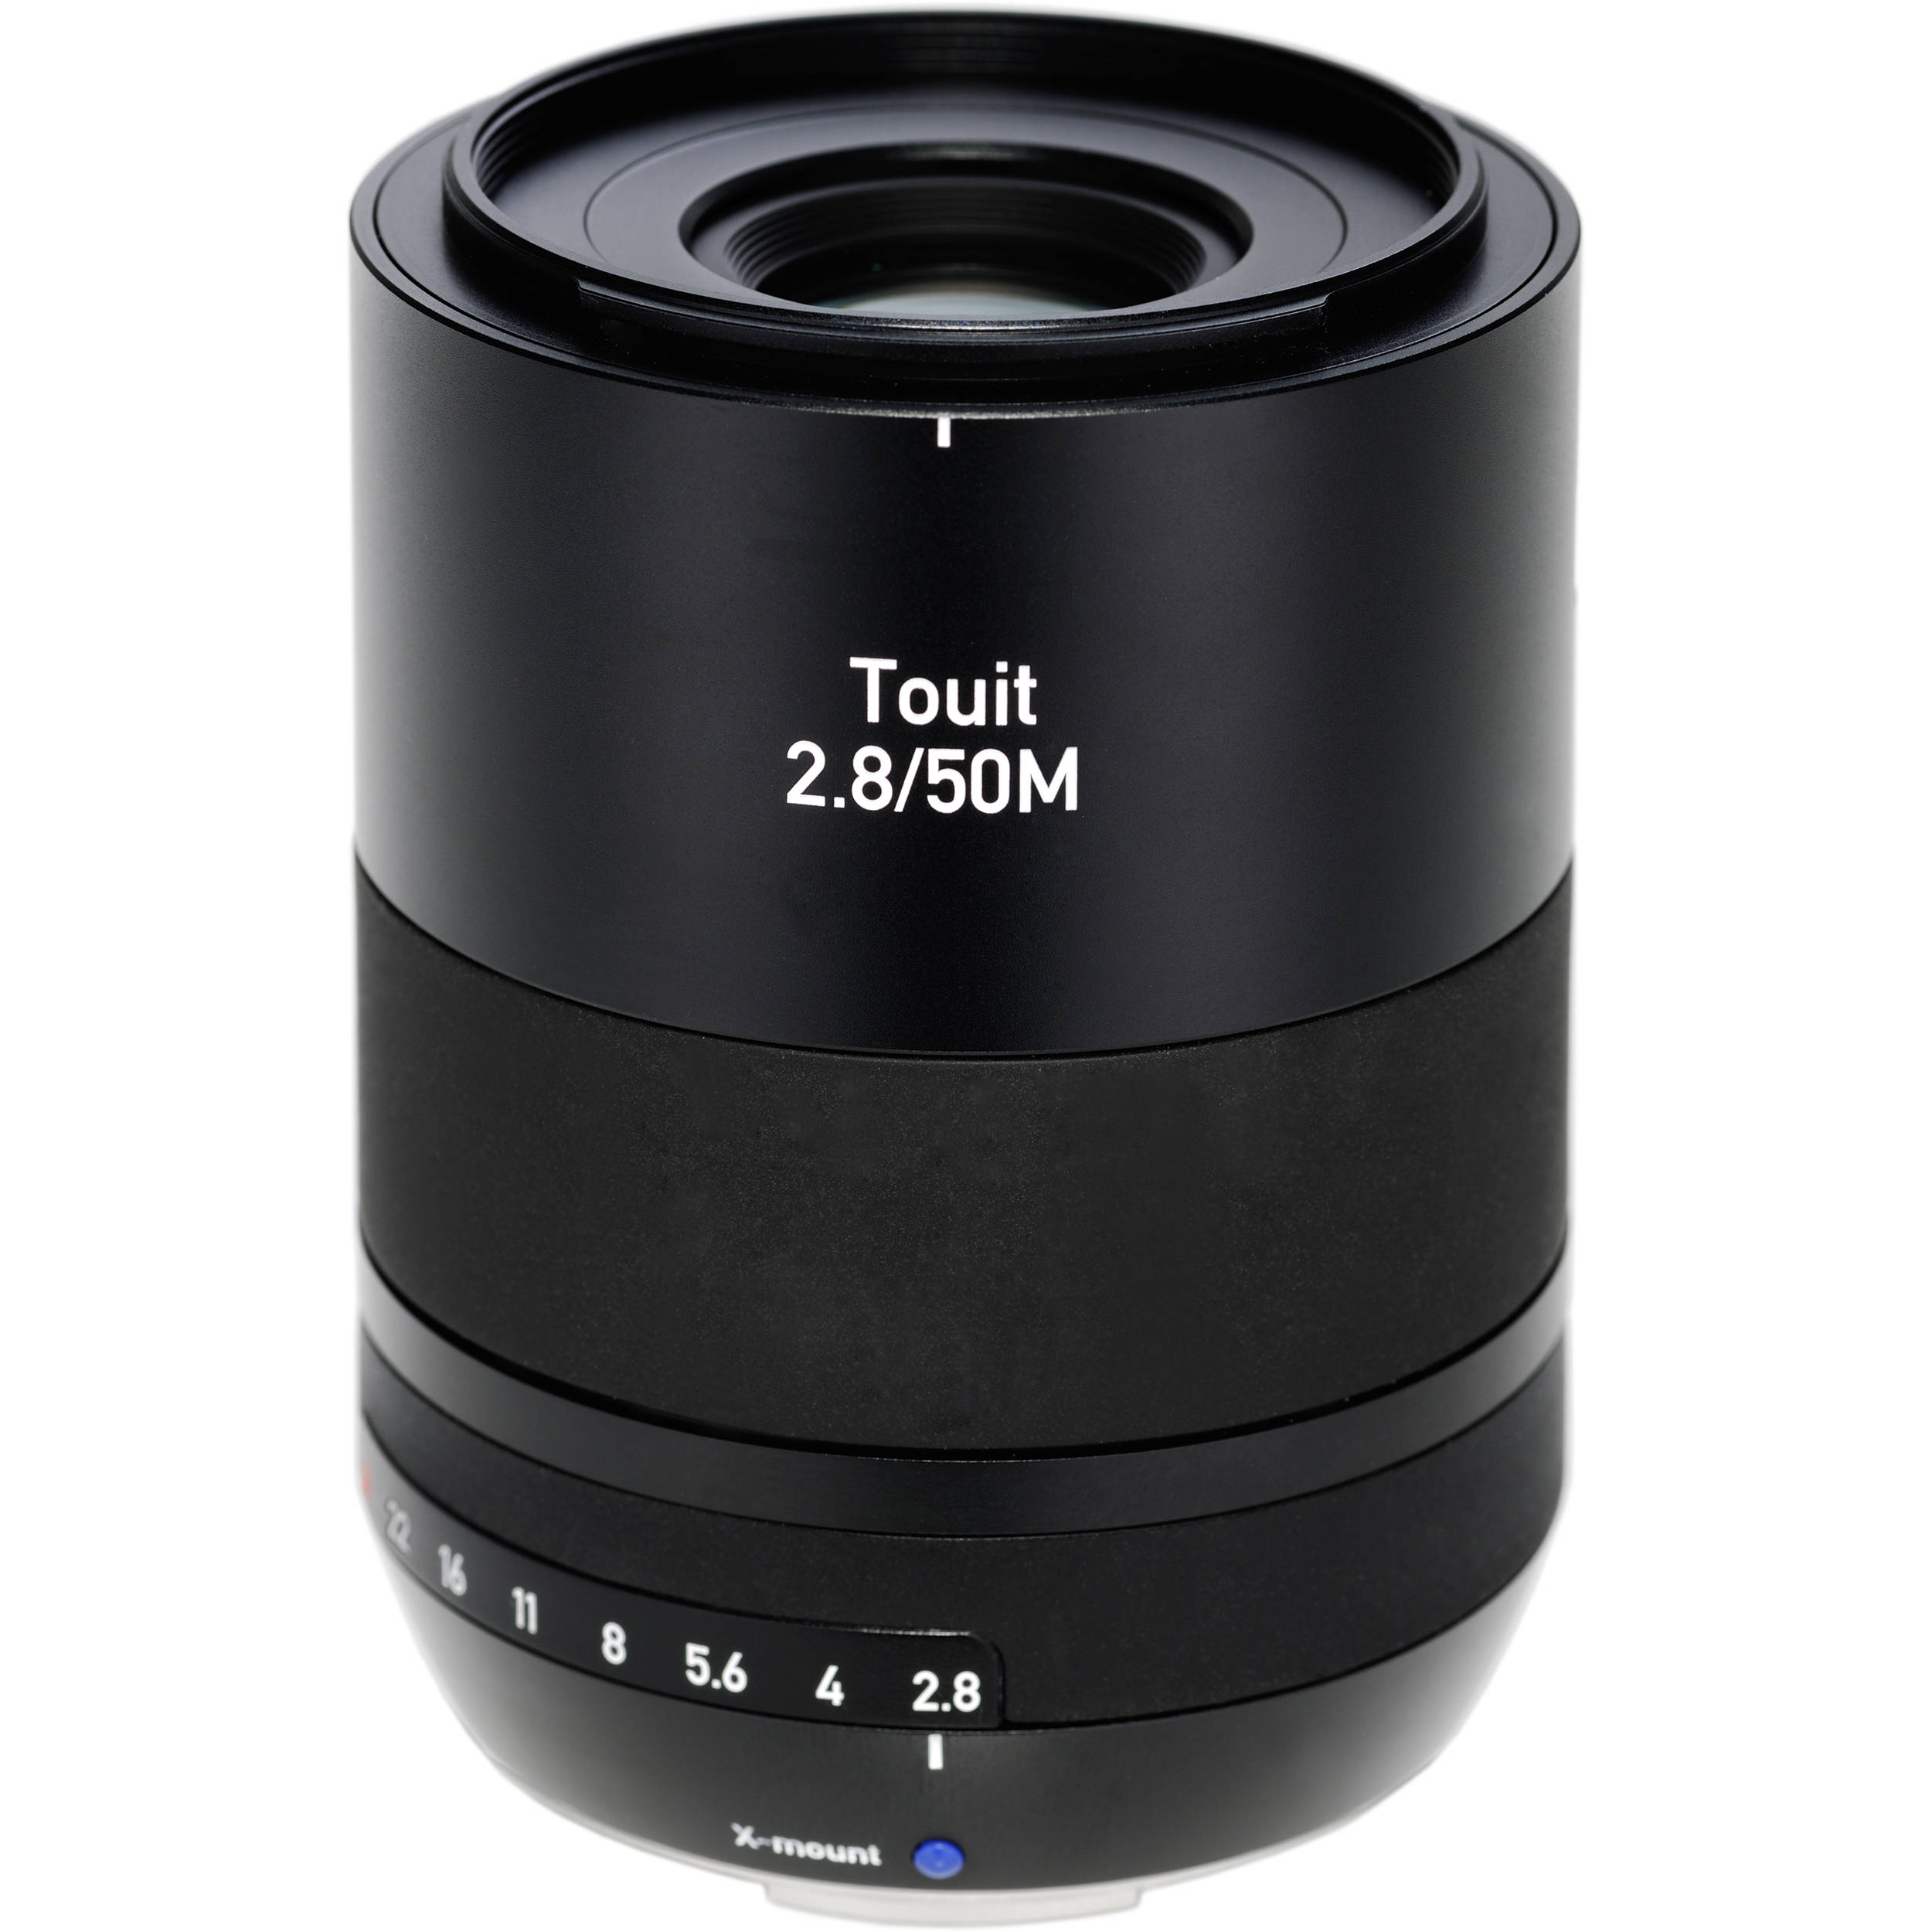
With that said, the Zeiss 50mm macro remains one of the best Fuji X mount lenses. It is small and lightweight and the image quality is exceptional. If you don’t need OIS and the reach of the 80mm, the Zeiss is the best option for you. Unlike the 60mm, it is internal focusing and also focuses faster. I used it for months, sold it before I moved to the UK and the bought it back again this year. I really missed it when I didn’t have it.
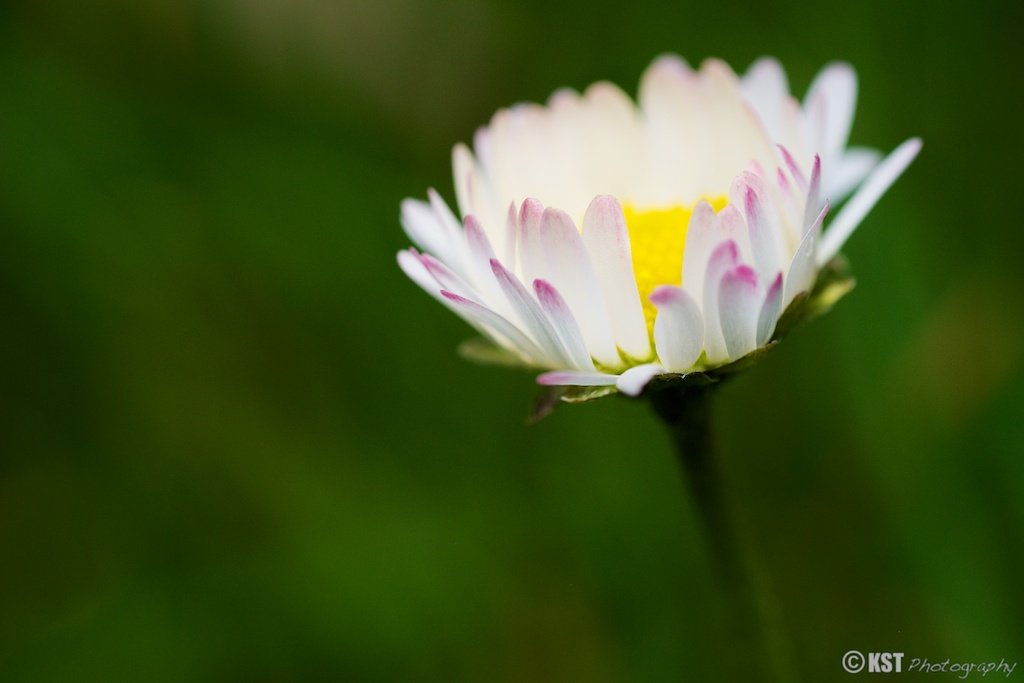
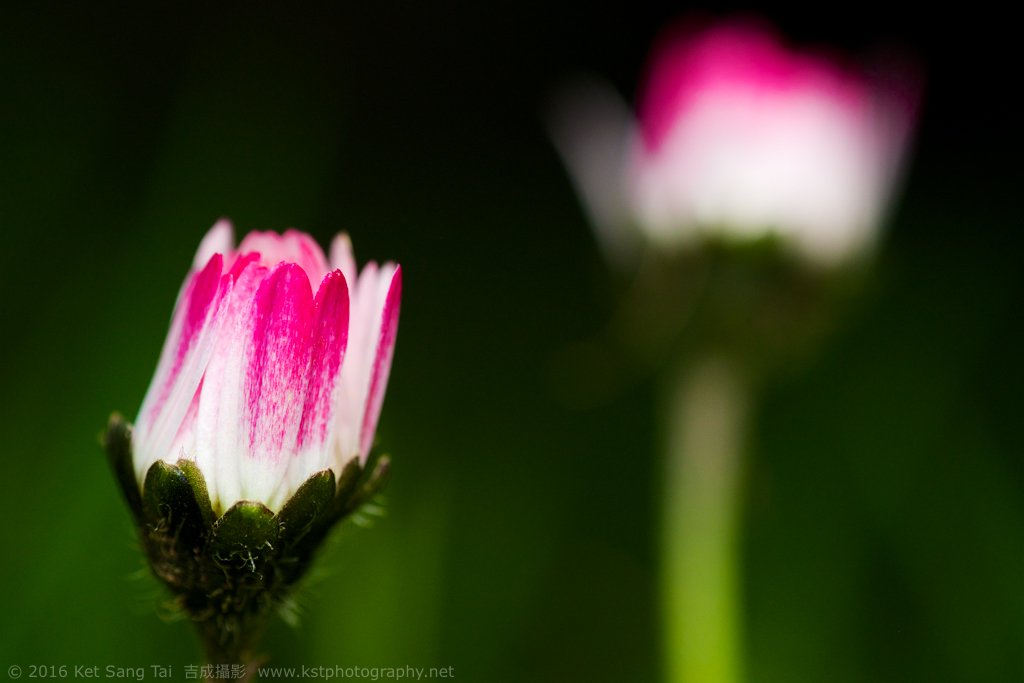
Here are some photos taken with the lens.
Non macro photos:


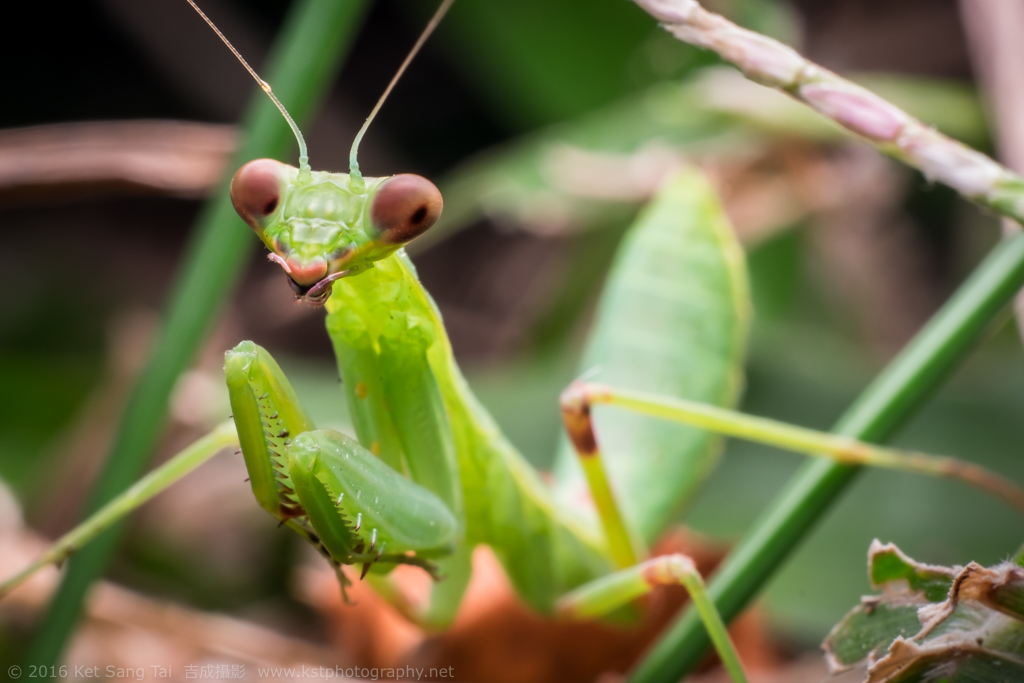
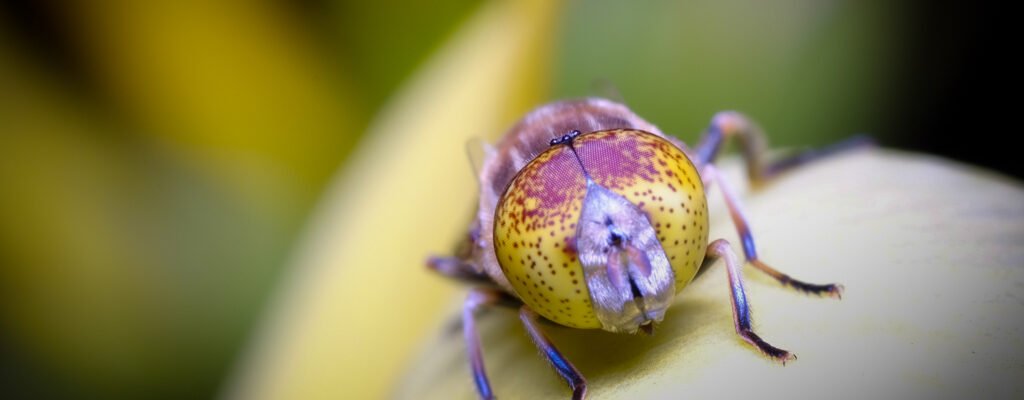
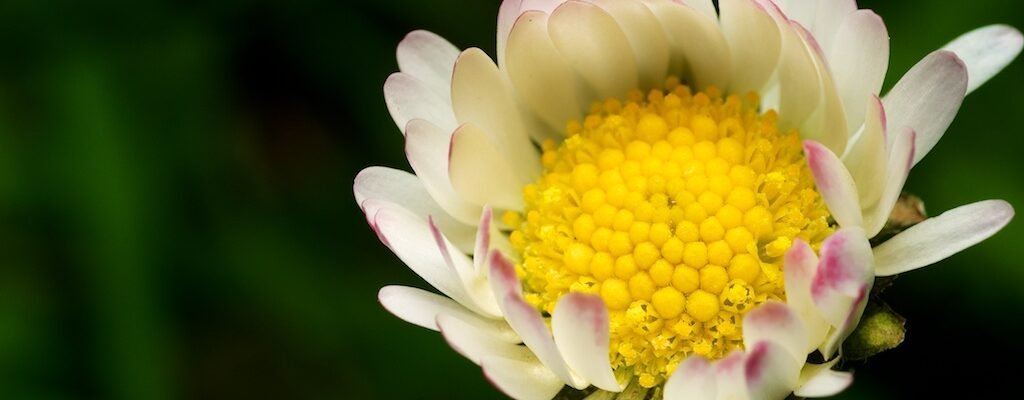
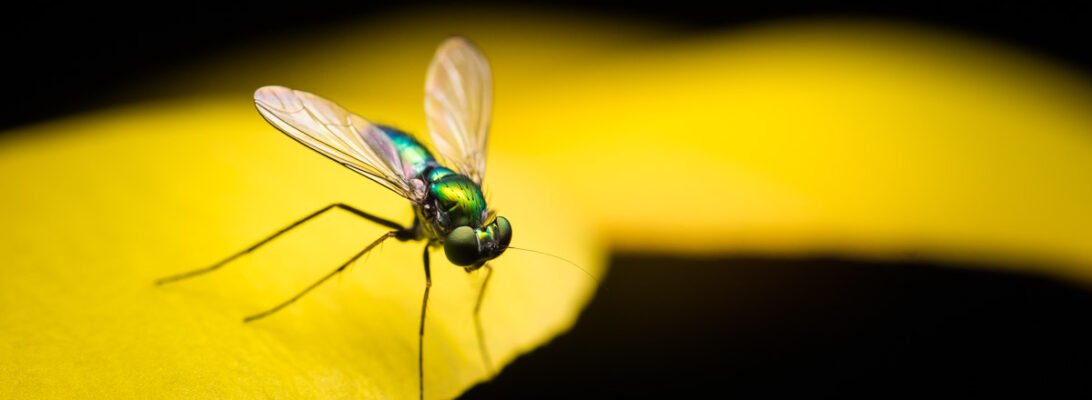
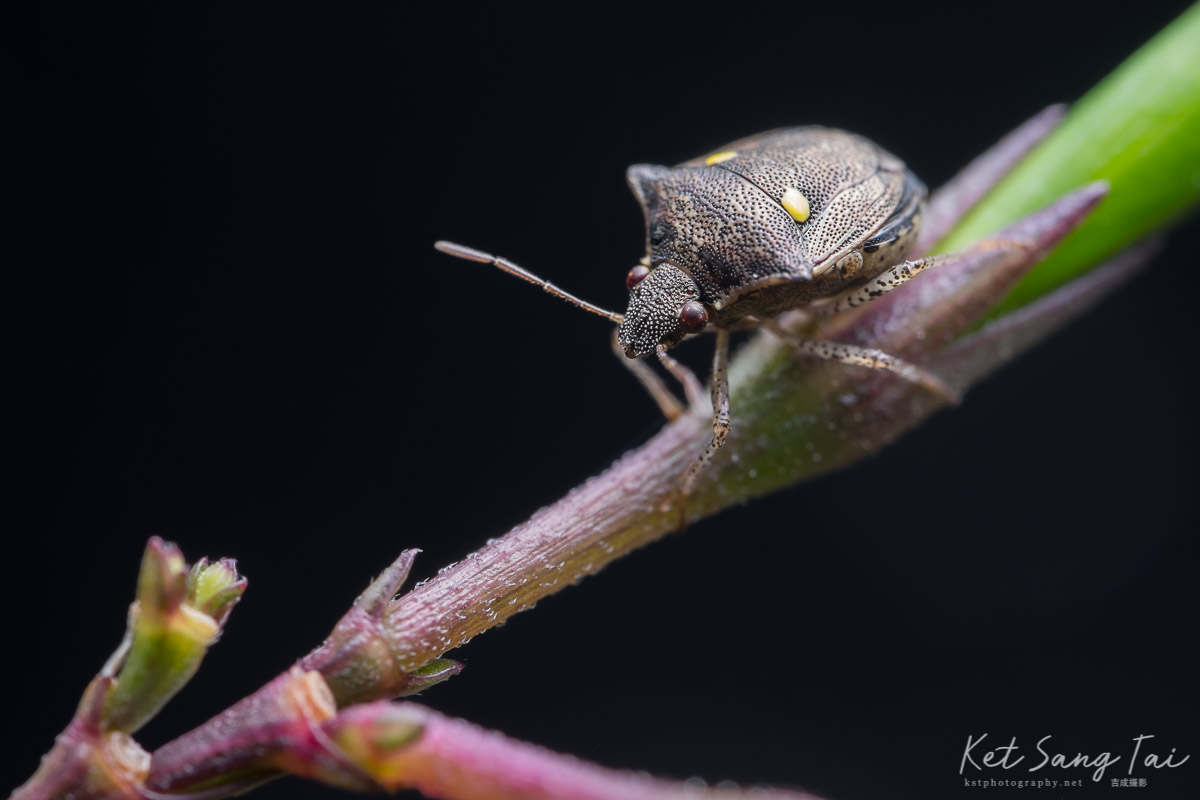
Macro photos:


Now that Fuji is a well developed and popular system, there is probably no need for me to write about other 1:1 macro lenses as these would have been well covered by other photographers, bloggers, and YouTubers.
Thanks for following this series and I hope you learned something useful.
Please check out the other posts in my Fuji X Macro series:
Part 1: x100s + Raynox-250
Part 2: Fujinon 60mm f2.4 with or without Raynox-250
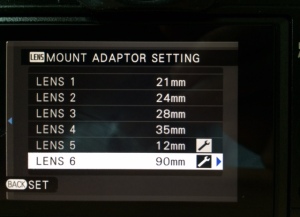
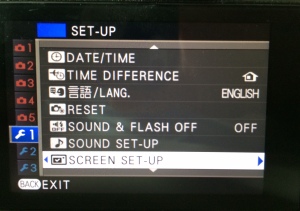
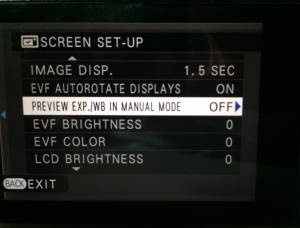
Part 3: Adapted Macro Lens
Part 4: Fujifilm Extension Tube MCEX-11 & MCEX-16
Part 5: Native 1:1 Macro Lens for Fuji (Zeiss)